How to Connect Stan with Mailchimp
What is MailChimp?
Mailchimp is an email marketing software that allows you to design and send email campaigns and email series to anyone who has opted-in to your email list.
Using a tool like Mailchimp will save you time and energy by automating your email marketing so that way you never lose out on an opportunity to nurture a warm lead from your Stan Store, into an ongoing paying customer.
How to Integrate with MailChimp
Once a product has purchased on your Stan Store (free or paid), Stan will always take care of the delivery of your product. This is done through a Confirmation Email, which can be customized within each Product Editor on your Stan Store.
However, if you're looking to send additional emails to your new customers, you can integrate directly with Mailchimp to automate your email marketing!
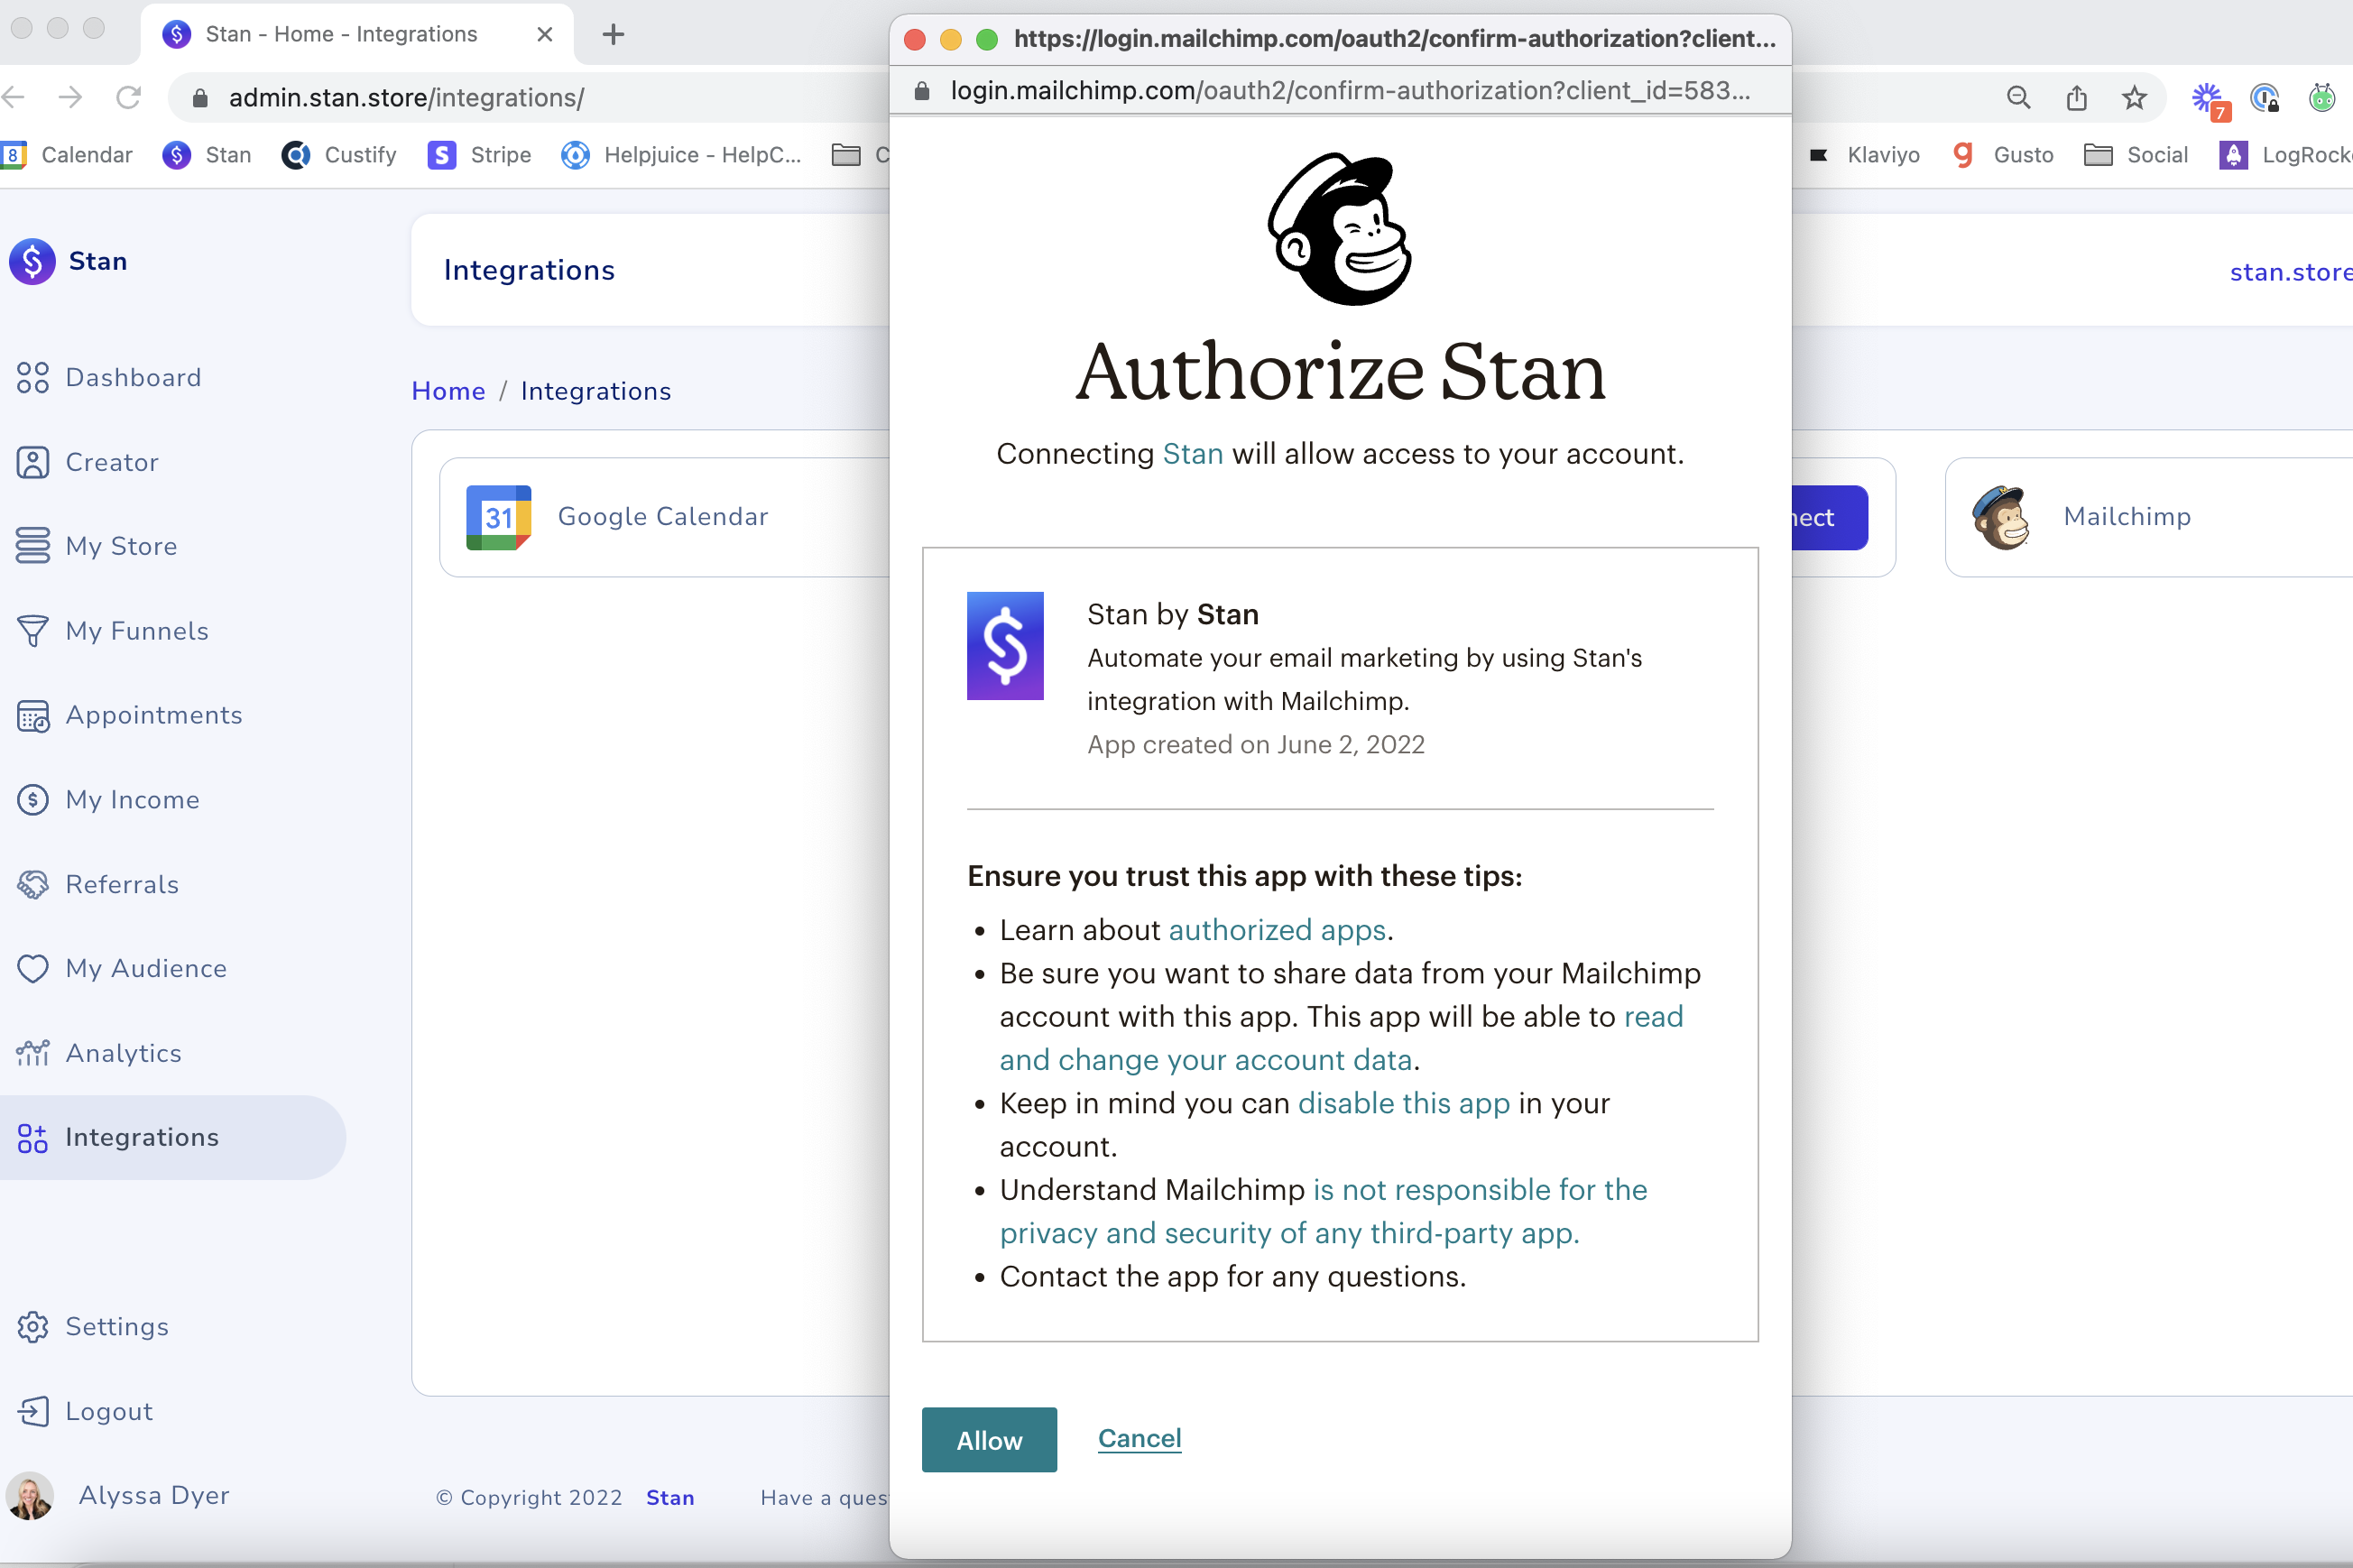
Step 1: Navigate to Your Integrations Tab
Click on the purple Connect button next to MailChimp, enter your Mailchimp login credentials, then authorize Stan and Mailchimp by clicking Allow on the pop-up:
Step 2: Connect Mailchimp to Each Product
Next, navigate to your My Store tab and select the Product that you'd like to connect Mailchimp to.
Scroll down to the Email Integrations section like below:

Step 3: Select Which Audience To Add Customers To
Next, toggle on Select Mailchimp Audience
From the dropdown, select the correct Audience you'd like to add customers to based off this Product they purchased.
Click Save as Draft in the bottom right hand corner to save your progress.
If you're unsure on what Audience to use, go ahead and select the Audience that says Stan - you can add/ edit different Audiences from within Mailchimp.

Step 4: Login to Mailchimp & Create an Automation
Next, let's login to Mailchimp and create your first campaign!
Once logged in, click on the Automations tab > then locate where it says check out Classic Automations:

After clicking on the Classic Automations link, select any Automation type you'd like!
If you're unsure, we recommend using the Welcome new subscribers:

Choose between sending a Single email, an Onboarding series, or an Educational series.
For this example, we'll select a Single email:

Next, select the Audience you'd like to send this email to.
TIP: Be sure to select the same Audience that you selected in your Stan Product Page (step 3). To manage different types of Audiences, click on the Audience tab.
Once a customer purchases something from your Stan Store, they will be automatically added to this Audience and sent this email.
Continue to fill out the remainder of sections, including designing the email and click when you're ready, click Start Sending.

Step 5: Time to Test Your Integration!
Next, navigate back to your Stan Store and opt-in to receive the Product that you just connected Mailchimp to.
After opting in, wait around 5-10 minutes to see if you've received your email from Mailchimp!
New to Mailchimp and not sure where to start? Below are a few resources straight from Mailchimp's help center page that will walk you through everything you need to know to get started on Mailchimp!
Popular Guides and Tutorials
How to Use Mailchimp: 101 All the Basics to using Mailchimp are found here.
Getting Started with TagsTags are labels you create to help organize your contacts in Mailchimp. Learn how to use tags, where to find them, and how to get started.
All the Merge Tags Cheat Sheet Merge tags let you insert dynamic content in your campaigns. Get a list containing each merge tag and how to use it.
Requirements and Best Practices for AudiencesAn audience of engaged contacts means more sales and a higher return on investment (ROI). Get tips and requirements for maintaining your Mailchimp audience.
Need more help with your Mailchimp account? Check out Mailchimp's help center here.